2FA vs MFA: How To Use Both With Code Examples

Even though passwords remains the standard way to authenticate an end-user, 61% of people reuse passwords according to LastPass. And because 81% of security breaches are caused by stolen passwords, this is a big concern for the security of the software you provide.
Fortunately, there are ways to improve the security of your application. In this article, we will look at two-factor authentication (2FA) and multi-factor authentication (MFA), their use cases, and how to implement them in Javascript.
Key Differences Between 2FA vs MFA
Most websites rely on single-factor authentication using an email / password account, sometimes through identity providers like Google, Apple or Facebook. But for more sensitive applications like banking apps, 2FA and MFA are mandatory to add an extra layer of security: passwords are easily lost or stolen if you’re not careful, but it’s significantly harder to steal your fingerprint for example.
Two-factor authentication (2FA) and multi-factor authentication (MFA) are both security measures that require more than one method of authentication to access a system. 2FA and MFA are often used interchangeably because it’s unusual for an identity provider to implement 2FA without adding extra indicators that make it MFA, but they are not the same.
The most common methods of authentication used in 2FA / MFA are as follow:
- Plain password - The most common type of authentication, but the least secure: the average employee has to remember 27 passwords, which makes it easy to lose one.
- Identity providers - Google’s authenticator can protect an account from up to 100% of automated attacks, thanks to its built-in MFA method.
- Security tokens - Like PIN codes, for example. They are usually used in combination with a password.
- Location data - Using GPS or network data, but they usually require the end-user’s consent and are not VPN-proof so you can’t rely on them entirely.
- Biometric data - Fingerprint, face, voice, etc. 77% of mobile devices have biometric security features.
- Physical key - 19% of government agencies use hardware authentication tokens. While they are more secure than other methods, they are also more expensive and less convenient to use.
- One-time password - Similar to security tokens, but they are generated by an app and sent once to the end-user’s device, via SMS or email for example.
- Push notification - With 68% of use, mobile push notifications are one of the most common MFA methods. That’s because most people have a phone nearby and it’s much easier to click a button than to enter an OTP.
Implementing 2FA in Javascript With Firebase Auth
Most auth library provide a way to implement 2FA. With Javascript, you can use PassportJS’s 2FA TOTP library, Auth0’s SaaS, or Google Firebase Auth, for example. For the sake of simplicity, we will use Firebase Auth in this article.
Signing in a user through single-factor authentication is as easy as a few lines of code:
import { initializeApp } from "firebase/app"

import {
    getAuth,
    signInWithEmailAndPassword
} from "firebase/auth";

const firebaseConfig = YOUR_FIREBASE_CONFIG_HERE
const app = initializeApp(firebaseConfig)
const auth = getAuth(app)

const signin = (email, password) => signInWithEmailAndPassword(auth, email, password)
To add 2FA, you’ll need to enable it in the Firebase console. Then, you can use the signInWithEmailAndPassword method to send a verification code to the user’s phone number. Once the user enters the code, you can use the verifyPhoneNumber method to sign in the user. Without going too much into the details (the official doc is pretty good), here’s an example.
First, you need to tell the user to register their phone number. Google uses ReCaptcha to make sure this process is not automated by a bot:
import {
    multiFactor, PhoneAuthProvider, PhoneMultiFactorGenerator,
    RecaptchaVerifier
} from "firebase/auth"

function sendVerificationCode(phoneNumber, multiFactorSession){
    const phoneInfoOptions = {
        phoneNumber: phoneNumber,
        session: multiFactorSession
    }

    const phoneAuthProvider = new PhoneAuthProvider(auth)

    // send the verification code to the user's phone number
    return phoneAuthProvider.verifyPhoneNumber(phoneInfoOptions, recaptchaVerifier)
}

function confirmPhoneNumber(verificationId, verificationCode){
    const cred = PhoneAuthProvider.credential(verificationId, verificationCode)
    const multiFactorAssertion = PhoneMultiFactorGenerator.assertion(cred)

    return multiFactor(user).enroll(multiFactorAssertion, mfaDisplayName)
}

(async () => {
    // configure ReCaptcha
    const recaptchaVerifier = new RecaptchaVerifier('recaptcha-container-id', undefined, auth)

    const multiFactorSession = await multiFactor(user).getSession()

    // here use the phone number registered by the end-user
    const verificationId = await sendVerificationCode(phoneNumber, multiFactorSession)

    // ask the user to enter the verification code and confirm it
    await confirmPhoneNumber(verificationId, verificationCode)
})()
And then you can use the phone number during the sign-in process:
import {
    getAuth,
    getMultiFactorResolver,
    PhoneAuthProvider,
    PhoneMultiFactorGenerator,
    RecaptchaVerifier,
    signInWithEmailAndPassword
} from "firebase/auth";

(async () => {
    const auth = getAuth();

    const recaptchaVerifier = new RecaptchaVerifier('recaptcha-container-id', undefined, auth)

    try {
        const userCredentials = await signInWithEmailAndPassword(auth, email, password)

        // single-factor authentication
        // ...
    } catch (error) {
        // multi-factor authentication

        if (error.code == 'auth/multi-factor-auth-required') {
            const resolver = getMultiFactorResolver(auth, error);

            // Sending phone number verification token

            const phoneInfoOptions = {
                multiFactorHint: resolver.hints[selectedIndex],
                session: resolver.session
            };

            const phoneAuthProvider = new PhoneAuthProvider(auth);
            const verificationId = await phoneAuthProvider.verifyPhoneNumber(phoneInfoOptions, recaptchaVerifier)

            // ReCaptcha verification
            grecaptcha.reset(window.recaptchaWidgetId);

            recaptchaVerifier.render()
            .then(function(widgetId) {
                grecaptcha.reset(widgetId);
            });

            // Verification code confirmation and final signin
            const cred = PhoneAuthProvider.credential(verificationId, verificationCode);
            const multiFactorAssertion = PhoneMultiFactorGenerator.assertion(cred);
            const userCredential = await resolver.resolveSignIn(multiFactorAssertion)

            // DONE!
        } else if (error.code == 'auth/wrong-password') {
            // Handle other errors such as wrong password.
        }
    }
})()
Of course, this is a simplified example. You’ll need front-end logic to handle errors and inputs, and you’ll need to make sure the user is not a bot. But the idea is there.
Coding MFA in Javascript
While a LastPass study reports that only 26% of companies use multi-factor authentication, identity providers like Google or Firebase Auth 2FA is already MFA under the hood. Google uses your location, for example. If you try to log in from a new location, you’ll get asked to confirm it’s you via email.
But if you want to implement a more custom MFA method, you can use libraries or Web APIs like WebAuthn. WebAuthn is a standard supported by most web browsers to use biometrics data to authenticate users.
Here is another simplified example to use Webauthn client-side without a server, from the Mozilla Foundation:
const createCredentialDefaultArgs = {
    publicKey: {
        rp: {
            name: "Acme"
        },
        user: {
            id: new Uint8Array(16),
            name: "[email protected]",
            displayName: "Carina P. Anand"
        },
        pubKeyCredParams: [{
            type: "public-key",
            alg: -7
        }],
        attestation: "direct",
        timeout: 60000,
        challenge: new Uint8Array([ // must be a cryptographically random number sent from a server
            0x8C, 0x0A, 0x26, 0xFF, 0x22, 0x91, 0xC1, 0xE9, 0xB9, 0x4E, 0x2E, 0x17, 0x1A, 0x98, 0x6A, 0x73,
            0x71, 0x9D, 0x43, 0x48, 0xD5, 0xA7, 0x6A, 0x15, 0x7E, 0x38, 0x94, 0x52, 0x77, 0x97, 0x0F, 0xEF
        ]).buffer
    }
};

const getCredentialDefaultArgs = {
    publicKey: {
        timeout: 60000,
        // allowCredentials: [newCredential] // see below
        challenge: new Uint8Array([ // must be a cryptographically random number sent from a server
            0x79, 0x50, 0x68, 0x71, 0xDA, 0xEE, 0xEE, 0xB9, 0x94, 0xC3, 0xC2, 0x15, 0x67, 0x65, 0x26, 0x22,
            0xE3, 0xF3, 0xAB, 0x3B, 0x78, 0x2E, 0xD5, 0x6F, 0x81, 0x26, 0xE2, 0xA6, 0x01, 0x7D, 0x74, 0x50
        ]).buffer
    },
};

(async () => {
    // create a new credential
    const cred = await navigator.credentials.create(createCredentialDefaultArgs)

    const idList = [{
        id: cred.rawId,
        transports: ["usb", "nfc", "ble"],
        type: "public-key"
    }];
    getCredentialDefaultArgs.publicKey.allowCredentials = idList;

    // check the credential
    const assertion = await navigator.credentials.get(getCredentialDefaultArgs);
})()
For a more thorough tutorial, check out this article from WebAuthn.Guide.
Of course, you can implement any custom logic you want using location data, time of day, etc. It doesn’t have to be biometric data.
Securing Secrets With Onboardbase
MFA is worthless unless you secure your admin secrets as well―whether it’s your Firebase or Auth0 API keys, or your AES key to encrypt your users’ passwords.
Onboardbase makes it easy to store and use secrets as environment variables in any collaborative software project. Just try it by copy / pasting an environment variable and Onboardbase guides you through a quick 5-minute installation process:
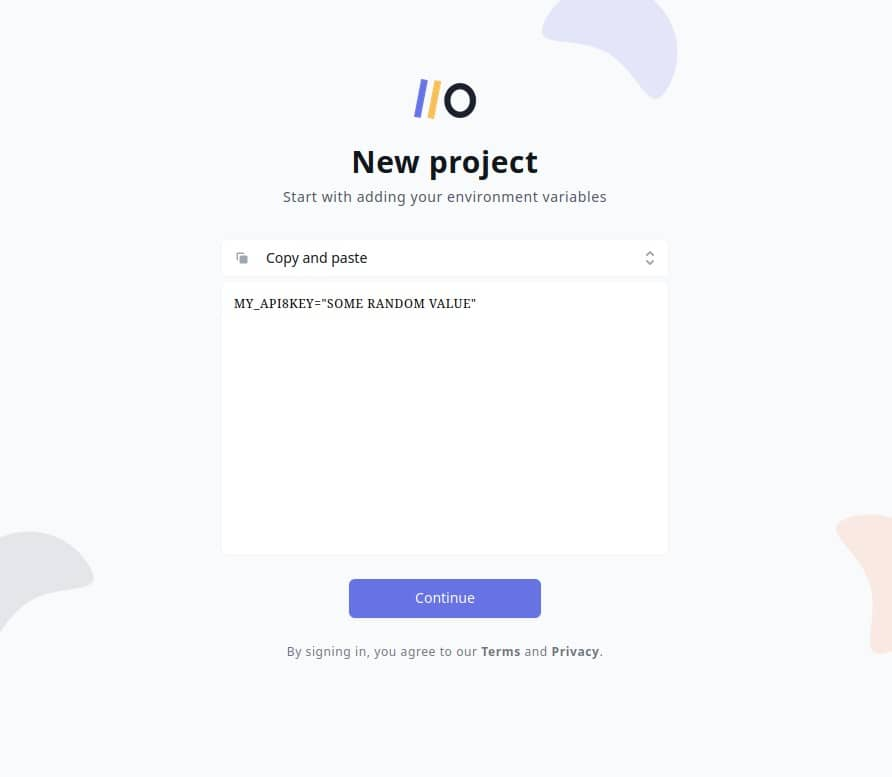
After confirming your email you’re ready to use Onboardbase in your project:
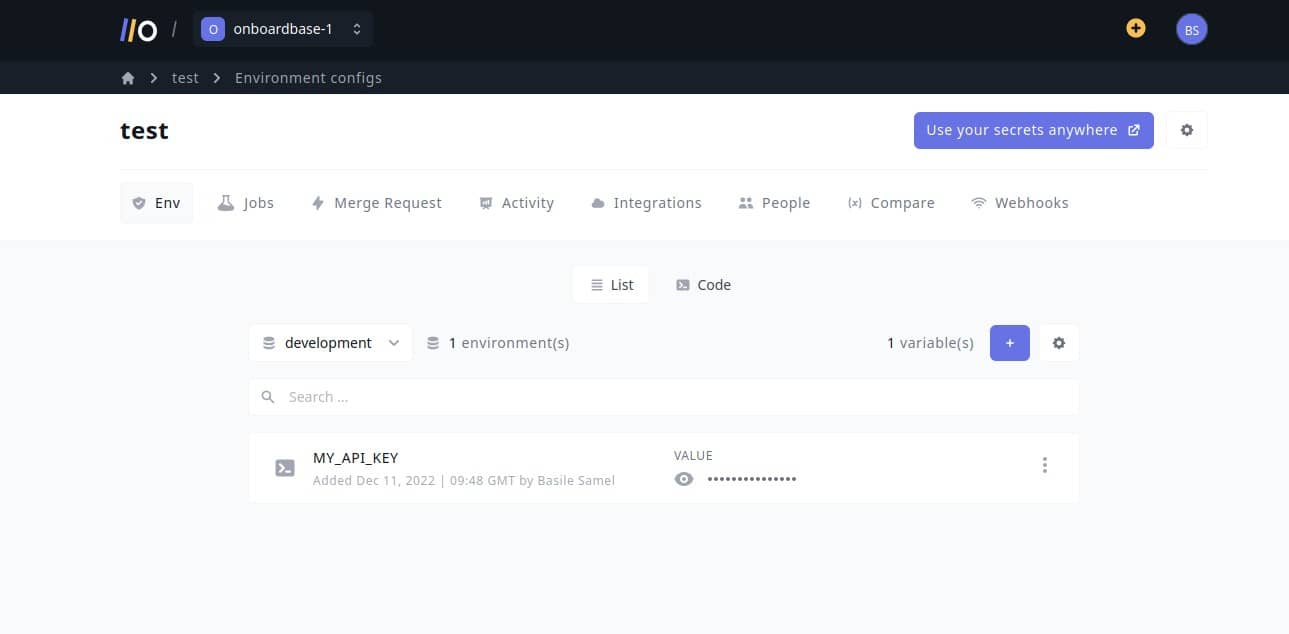
In your project, install Onboardbase’s CLI and set it up. You’ll need NodeJS to run it:
npm i -g @onboardbase/cli@latest
npm run onboardbase setup
And then inject environment variables at runtime using Onboardbase’s build command:
onboardbase build --command="node 2fa.js"This way you don’t need to use any sort of file, whether it’s a .env or a .bashrc, reducing security risks while drastically improving the developer experience of your whole team. The best part? It’s free to get started.
2FA vs MFA Summary
2FA and MFA are both methods to secure your users’ accounts. 2FA is a subset of MFA, and it’s the most common way to implement MFA. MFA isn’t straightforward to implement as it will depend on your software’s needs and usage. But if you store sensitive data for many users, you should definitely implement MFA.
Subscribe to our newsletter
The latest news, articles, features and resources of Onboardbase, sent to your inbox weekly