Securing Laravel Environment Variables: A Simple Tutorial

PHP is by far the most used language for backend development according to W3techs surveys. And if you use PHP professionally, you probably use its most popular framework, Laravel.
As a Laravel developer, you probably use several external services to provide some features like payment or database management, and there’s a high chance you are already familiar with environment variables to handle secrets like API keys, token signatures, database passwords, ect. But are you managing environment variables properly? In the following article, we will see how to secure your environment variables for your Laravel project.
What‘s A PHP Environment Variable
Environment variables are constants available to any function in your Laravel project.
You can use environment variables in Laravel like you would in traditional PHP, but Laravel also proposes a env function with a second parameter to define a default value:
echo($_ENV["APP_NAME"])
env("APP_ENV", "production")
Why You Need Env Variables
Environment variables prevent you from hardcoding secrets in your code. Hardcoding secrets puts you at risk of leaking secrets to the world, which is terrible for your company’s brand and for you as a profesionnal developper.
They also make your code more readable and maintainable. Say you have a database and need to change the password to access it: you can just change the variable’s value once and the change propagates to your entire codebase instantly.
Using Environment Variables With Laravel
1. Defining and using environment variables in env files
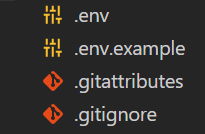
New Laravel projects come with ready-to-use env files where you can specify environment variables:

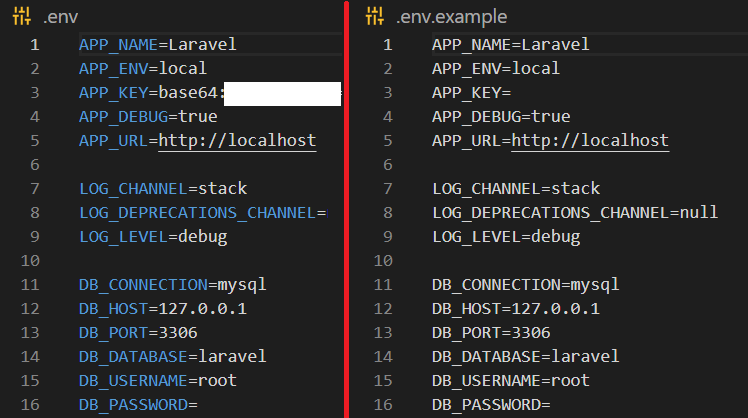
Env files also come with default environment variables to get your project running as fast as possible:

Creating new environment variables is as easy as adding a new line to your .env file:

You can then access your environment variables with the env function:
env("NEW_ENV_VAR")2. Creating environment variables on Linux / Unix
.env files are simple to use for a temporary development environment, but they are terrible for security anywhere else. Many things can go wrong: you can either forget to add the .env file to .gitignore and leak sensitive information in your repository, but you can also inadvertently publish the file and have it accessible for anyone on the Internet without the proper server permissions. Toyota recently suffered a data breach by exposing a secret key on Github, for example.
In production, the best practice is to directly create environment variables in your container or operating system by using a .bashrc file. Linux powers 90% of web servers out there, so let’s see how it’s done in a Linux environment.
Creating an environment variable is as simple as opening you terminal and using the export command:
export ENV_VAR = key
echo $ENV_VAR
# output: key
Now back in your code, you should be able to have access to your environment variable the same way as before:
env("ENV_VAR")
// output: "key"
But this variable is non-persistent, meaning your variable will be gone when you close the terminal.
If you use a web hosting service, you’ll be able to directly configure persistent environment variables from the user interface. On your own machine, you can create persistent environment variables by using the .bashrc file:
nano .bashrcAnd insert your environment variables like so:
export ENV_VAR = keyAnytime the system boots up, the variable is created. You can now use your environment variable in your code without any .env file! Unlike .env files which are stored in a project’s repository which can be public, you can never leak .bashrc files unless you explicitly want to share them. It’s a huge improvement.
If you want deeper insights on how to create and use environment variables on Linux, check our article on the subject.
Secure your Laravel environment variables with Onboardbase
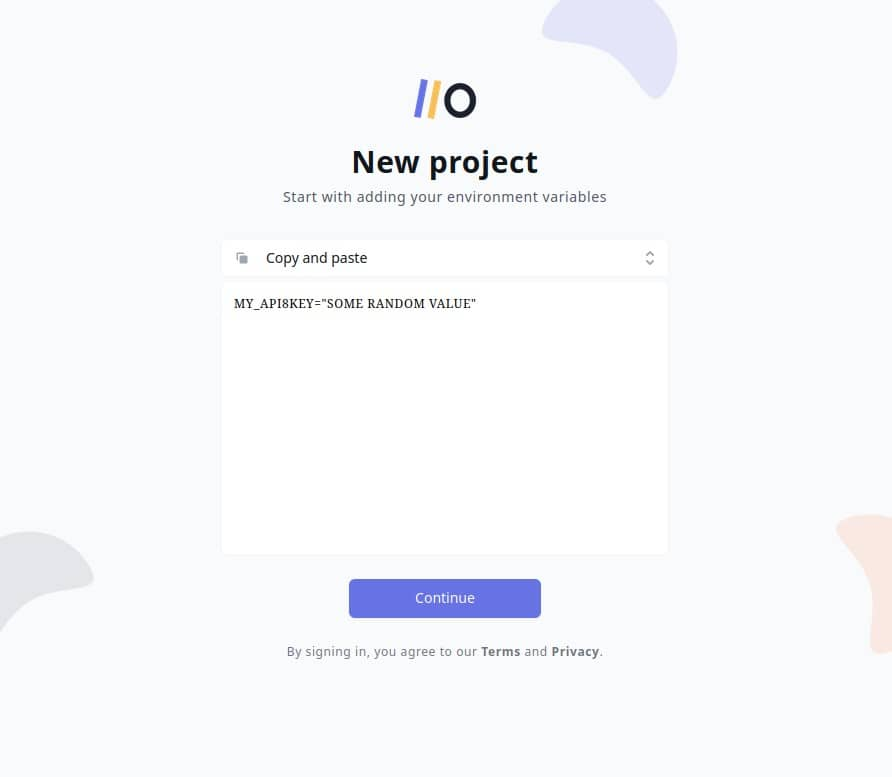
Onboardbase makes it easy to store and use environment variables in any collaborative software project. Just try it by copy / pasting an environment variable and Onboardbase guides you through a quick 5-minute installation process:

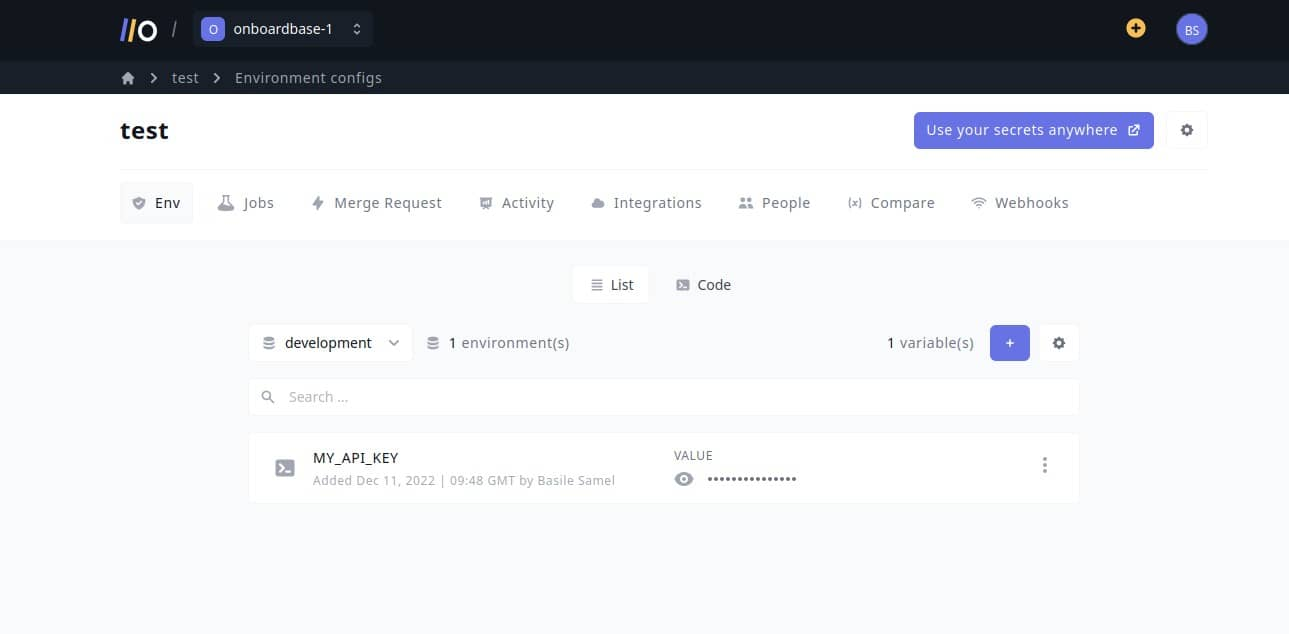
After confirming your email you’re ready to use Onboardbase in your project:

In your project, install Onboardbase’s CLI and set it up. You’ll need NodeJS to run it:
npm i -g @onboardbase/cli@latest
npm run onboardbase setup
And then inject environment variables at runtime using Onboardbase’s build command:
onboardbase build --command="php artisan serve"This way you don’t need to use any sort of file, whether it’s a .env or a .bashrc, reducing security risks while drastically improving the developer experience of your whole team. The best part? It’s free to get started.
Subscribe to our newsletter
The latest news, articles, features and resources of Onboardbase, sent to your inbox weekly