
Ruby on Rails Environment Variables: Everything You Need To Know

As of 2022, Ruby on Rails is the third most used backend language according to W3techs surveys with about 11 million websites reported to use it. As a backend developer, you manage accesses to the routes with tokens, request databases, API, and probably use many other external services. There’s a high chance you are familiar with environment variables, and you probably know that secret credentials can leak if they aren’t managed properly. In the following article, we will see how to securely manage environment variables with Ruby on Rails.
What‘s A Ruby on Rails Env Variable
Environment variables are constants available to any function in a Rails project. You use them for anything from storing API keys to database credentials or your app’s name.
Here’s an example using an environment variable in Ruby on Rails :
puts ENV["MY_ENVIRONMENT_VARIABLE"]Environment variables are trivial yet central to daily software operations. On the other hand, distractions are everywhere and it’s easy for any developer team to forget to protect sensitive environment variables, so let’s see how we can best handle them.
How To Use Environment Variables With Ruby On Rails
1. Create environment variables
There are different ways to create environment variables to be used with Rails.
- First method: “local_env.yml” File
Let’s create a file “local_env.yml” in a directory called “config” that is in your root directory. Now in this file create an environment variable ENV_VAR with a value “key”:
ENV_VAR : "key"You’ve just created an environment variable. Just be aware that using this method can be dangerous if you don’t add your “local_env.yml” file to .gitignore. This file contains credentials that can deliver sensitive datas, which is why you don’t want it to end on a public remote repository. There’s actually an other method to create environment variables that do not require a file in your app’s file system. Let’s take a look at it.
- Second method: Linux CLI
If you’re working on Linux, here’s a simple method to create an environment variables for your local environment. Open you terminal run this command to create an ENV_VAR with the value “key” :
export ENV_VAR = key

//If you want to check your environement variable run:
echo $ENV_VAR
//OR
printenv ENV_VAR
//output : key
That’s it. You’ve created an environment variable. The thing is, if you close your terminal, the environment variable won’t be saved. In order to create a persistent environment variable we’ll run a few commands.
#First :
nano .bashrc

#Then anywhere:
export ENV_VAR = key
Now Ctrl+S to save and Ctrl+X to leave. Back in the terminal use this to update your environment variables :
source .bashrcThat’s it, we’re ready to use our ENV_VAR. With this method, you don’t have to use “local_env.yml” which is a safer thing to do in case you forget adding it to .gitignore. Note that if you use the “local_env.yml” file method, any environment variable declared with Linux CLI will be overriden.
2. Set up environment variables on Ruby on Rails
Skip this step if you don’t use the “local_env.yml” method.
If you have used the first method, you’ll have to set up Rails to make environment variables out of your key/value pairs you created in the “local_env.yml” file. First go to the “application.rb” file in the “config” file. Basically, this file contains settings you want to specify for all your components.
Open this file and write this piece of code at then end of it :
config.before_configuration do
  env_file = File.join(Rails.root, 'config', 'local_env.yml')
  YAML.load(File.open(env_file)).each do |key, value|
    ENV[key.to_s] = value
  end if File.exists?(env_file)
end
For each key/value pair of the “local_env.yml”, an environment variable is created. You’re good to go now.
3. Use environment variables on Rails
Now that we have created environment variables with either method using them is very simple.
Put the variable ENV_VAR we just created into ENV[” ”] like so :
ENV[”ENV_VAR”]You have now access to the value of the ENV_VAR without having hardcoded it.
4. Secure and make your environment variables collaborative with Onbardbase
Each method we have used to create environment variables has an issue.
- The “local_env.yml” file has a security issue that we already mentioned: forgetting to mention it in the .gitignore can leak secrets and damage your company brand.
- The Linux method is more secure but lacks the flexibility needed to work in a modern team with different skillsets and projects to manage. It’s also terribly slow to do whenever you need to get a project up and running.
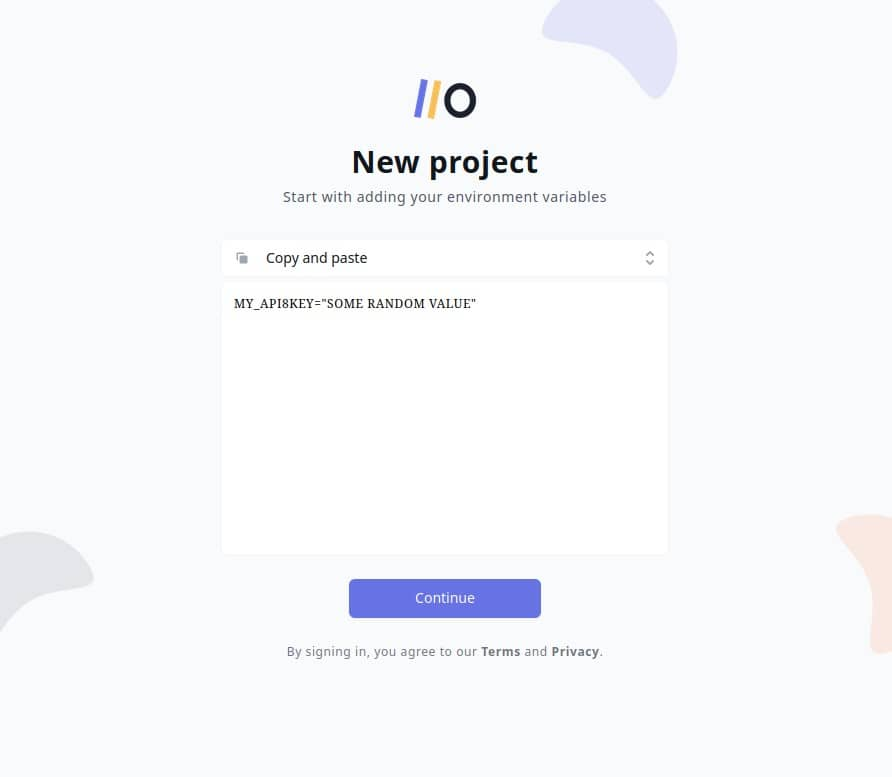
This is why you want to use a tool that can help you solve both of these issues. With Onboardbase, you can get rid of your “local_env.yml” file and share your environment variables with invited teammates from a central web dashboard. Onboardbase makes it easy to store and use environment variables in any collaborative software project. Just try it by copy / pasting an environment variable and Onboardbase guides you through a quick 5-minute installation process:
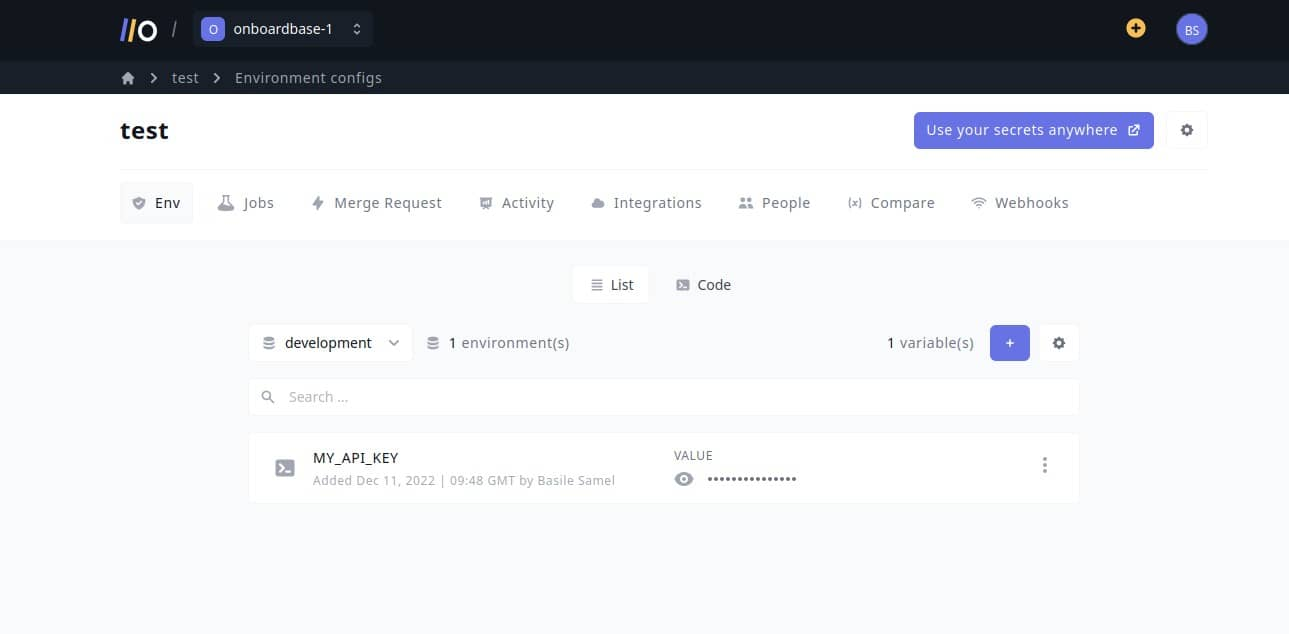
After confirming your email you’re ready to use Onboardbase in your project:
In your project, install Onboardbase’s CLI and set it up. You’ll need NodeJS to run it:
npm i -g @onboardbase/cli@latest
npm run onboardbase setup
And then inject environment variables at runtime using Onboardbase’s build command wrapped around the native Rails command to start your project:
onboardbase build --command="bin/rails server"This way you don’t need to use any sort of file, whether it’s a .env or a .bashrc, reducing security risks while drastically improving the developer experience of your whole team. The best part? It’s free to get started.
Subscribe To Onboardbase
We’ve learnt what is an environment variable and how to declare it with two methods in Ruby on Rails. Both methods had their pros and cons, which is why we propose a third method that offers the best of both worlds. Onboardbase is the right tool to stop fearing security leaks while boosting your team’s productivity. With our documentation and even videos on our youtube channel, you can get started for free in 5 minutes. Try it for yourself for free or book a demo with us.
Subscribe to our newsletter
The latest news, articles, features and resources of Onboardbase, sent to your inbox weekly